Upgrade Windows Home to Pro | No Reinstall
Before you start
Please ensure you have your valid product key ready before following these installation steps. If you don't have one, purchase one here.
When we installed Windows Vista or Windows 7 on our computer, we could choose from a wide variety of different editions. Depending on the use we were going to make of the equipment, and what we wanted to pay, we could choose between an edition like the Home Basic, very simple, or a Ultimate with all the functions and features available to the users. This was often confusing, and for this reason with the arrival of Windows 10, Microsoft decided to simplify things. Now we only have the edition Home, for home users, or the edition Professional for advanced users.
The Windows Home edition is considerably cheaper than the Professional edition. This is the one that is usually installed by default when we buy a new OEM computer (except in very specific cases), and it is also the one that most users who have gone from Windows 7 and Windows 8.1 to Windows 10 have by updating the license. It must be taken into account that the majority of end users have the home edition of Windows. In fact, for these, at least for almost all of them, this edition is more than enough.
However, the needs in this sense vary a bit if we focus on the market and the way of business or more professional use. In this case, it could be interesting to install and use the Pro, for example. This is largely due to some of the features available in this edition, but not found in the Home. These additional functions that we refer to here are both functional and security-focused.
What Windows do I have installed?
If we have manually purchased the operating system license, or if we have been the ones who have installed Windows, we will surely know which edition we have installed. However, if we don’t know, there are several very easy ways to find out. Doubts can enter us, for example, in the event that we have acquired a new PC, either new or second-hand, where the edition of the installed system was not specified.
Therefore, one of the fastest is to look at the sticker on our PC. If your computer came with Windows 8.1 or Windows 10 installed, it should be there if you’re using the Home version or the Pro version.
If this is not the case, or if you do not have the sticker handy, the other very easy way to check the version and edition of Windows that we are using is to run the command “winver”. This will allow us to see, in addition to the version of Windows that we have installed, the edition to which it corresponds. This is done through a new window that shows us on the screen. To achieve this, all we have to do is write the command winver in the operating system’s search box.
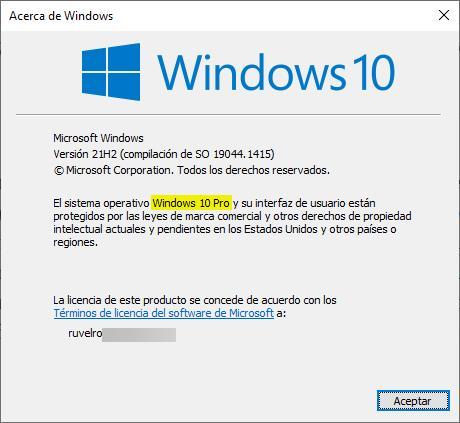
Figure 1: Checking version with Winver
We can also consult it from the Configuration menu of the operating system. To consult it in this way, what we must do is open this menu (using the Win + I keyboard shortcut), and go to the “System > About” section. Here, within “Windows Specifications”, we can see the edition that we have installed, both in Windows 10 and Windows 11.
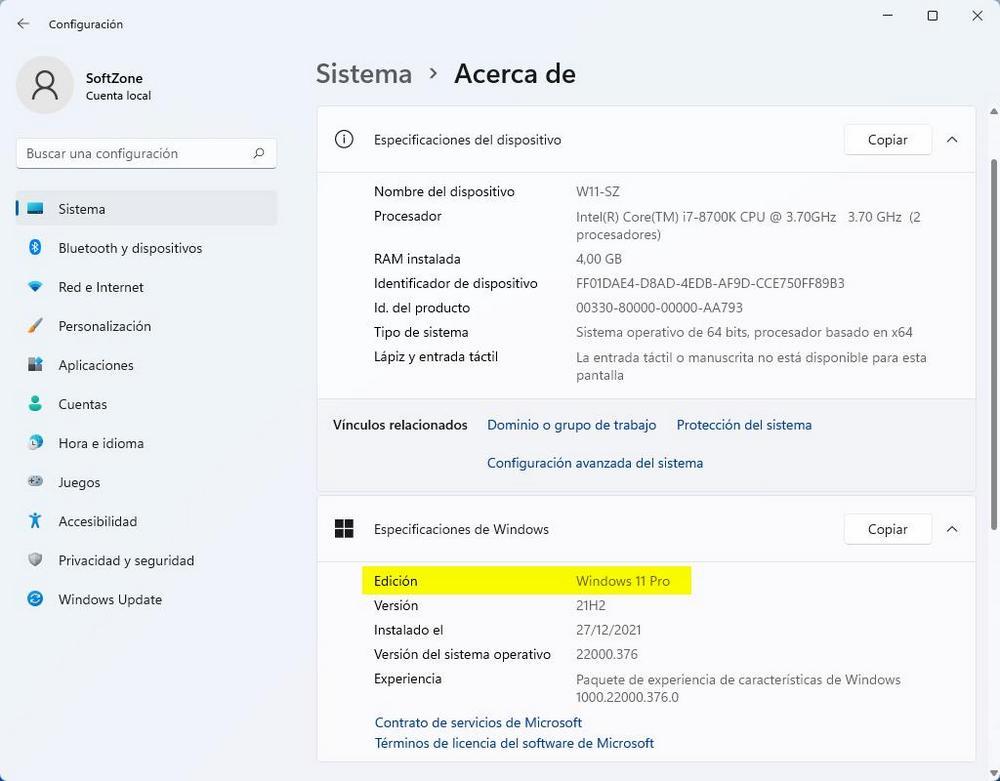
Figure 2: Windows 11 System Settings
Finally, in the case of Windows 10 (this method does not work in Windows 11) we can also open the computer properties window to also see the edition, along with other interesting information about our computer.
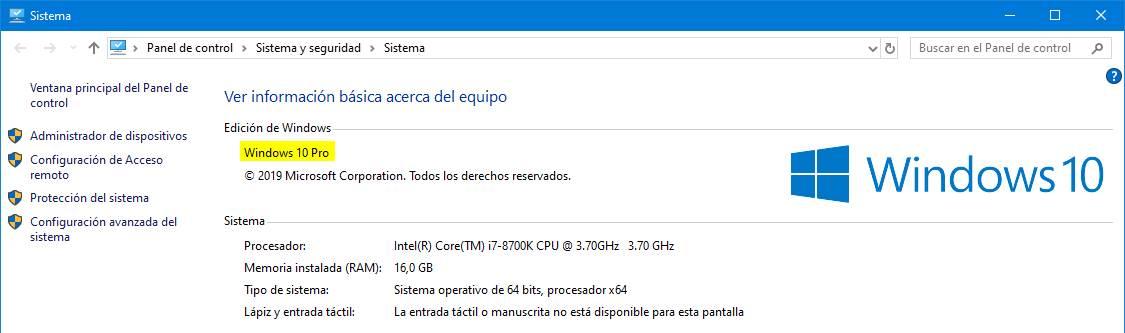
Figure 3: Legacy PC Properties
Differences between the “Home” edition and the “Pro”
Most users probably don’t mind using one edition or the other, as the more advanced features may not require them. However, there are important changes between the two versions, and some advanced user may need to resort to some of the following features:
- BitLocker: For encryption of hard drives and SSD drives. This function is designed to add a password to the drives that we connect to the computer.
- Windows Information Protection (WIP): Designed to prevent accidental data loss on enterprise devices through apps and services.
- Hyper-V Virtualization: Allows virtualization of operating systems natively. Otherwise, free alternatives like VirtualBox or VMware must be used.
- Remote Desktop (RDP): Allows you to connect to other equipment remotely. The possibility of turning the equipment into a host (server) is only available in the Pro version.
- Domain Join: Functions and characteristics when working in work domains (Active Directory).
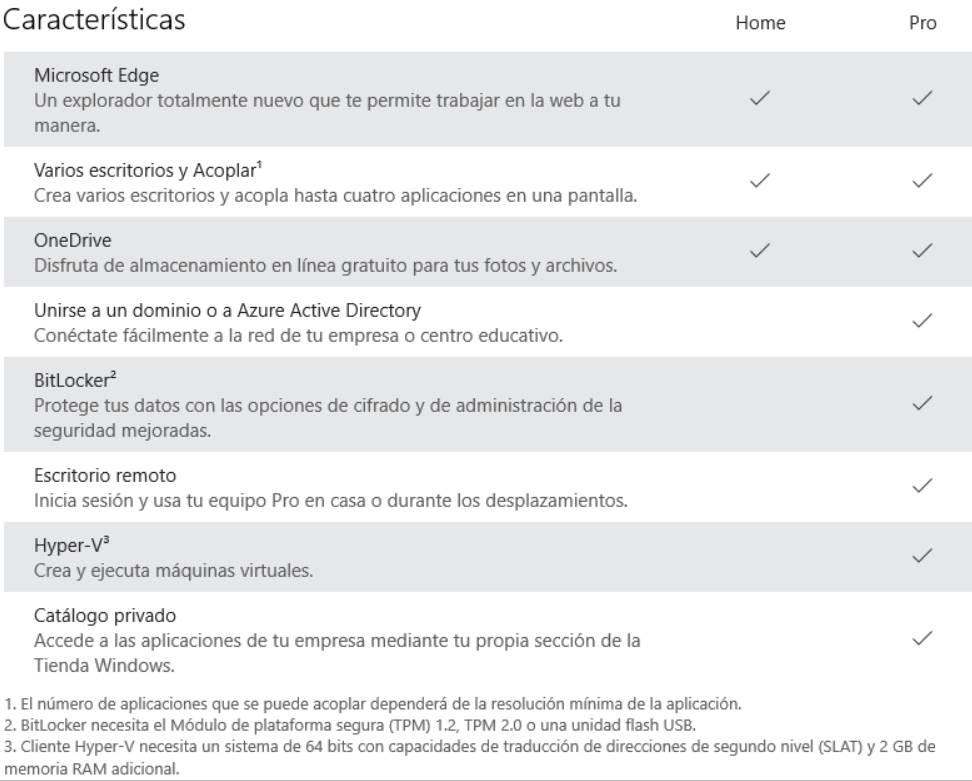
Figure 4: Feature Comparison Chart
Is it really worth going Pro?
When we buy a new computer, most of the time it comes with the “Home” edition installed by default. This edition is cheaper and allows users to save costs in exchange for limiting the use of certain functions. The Home and Pro edition work, at the level of performance and security, the same.
So in the end, the question to ask before upgrading is: am I really going to use Hyper-V, BitLocker or Remote Desktop? Will I need to access group policies to modify them? Because if we don’t need it and we can defend ourselves with free alternatives like VNC, VeraCrypt or VirtualBox we don’t have to spend the money on the Pro edition license.
Windows Professional requirements
The requirements to be able to use a Pro edition on our computer are the same that we will need to be able to use the Home edition. That is, what we must meet to be able to use this operating system is:
- 1 GHz or faster processor.
- 1 GB of RAM for a 32-bit Windows 10, or 2 GB for a 64-bit edition.
- 4 GB of RAM memory in the case of Windows 11.
- 16 GB of hard drive space for 32-bit, or 32 GB for 64-bit on Windows 10.
- 64 GB of space in Windows 11 (only available in 64-bit).
- DirectX 9 or later with a WDDM 1.0 driver.
- Screen with a resolution of 800 x 600 pixels.
How to upgrade from Windows Home to Professional edition
Microsoft allows us to easily switch between editions simply by changing the license key. To do this, all we have to do is open the Windows Settings menu from the start menu and we will go to the “Update and security” > “Activation”, from where we will be able to change the key of the operating system.
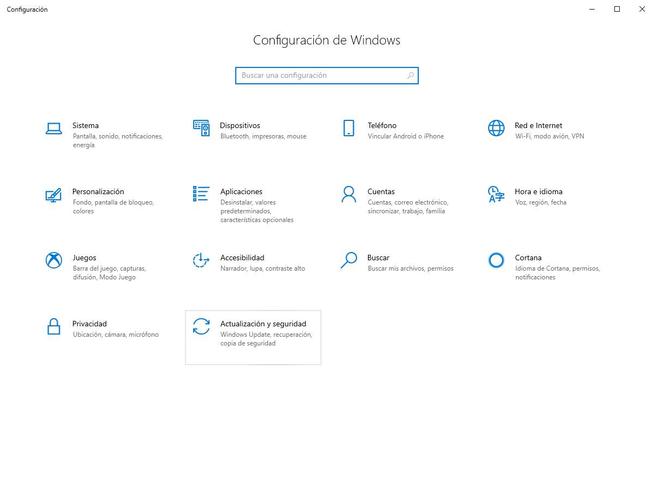
Figure 5: Update & Security Menu
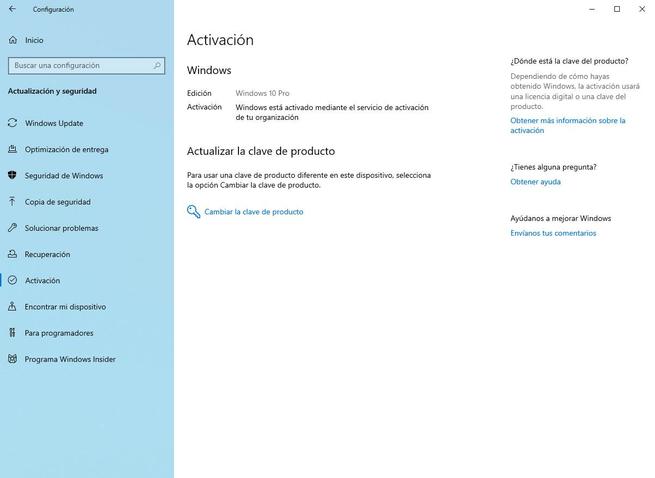
Figure 6: Activation Screen
To be able to change from one edition of Windows to another we will need the license key of the operating system. If we have it written down, no problem. If for some reason we don’t have a license key, we can always buy an original Retail key at the Microsoft Store.
Once we have our key, on the previous activation screen we will click on “Change product key” to enter the new password.
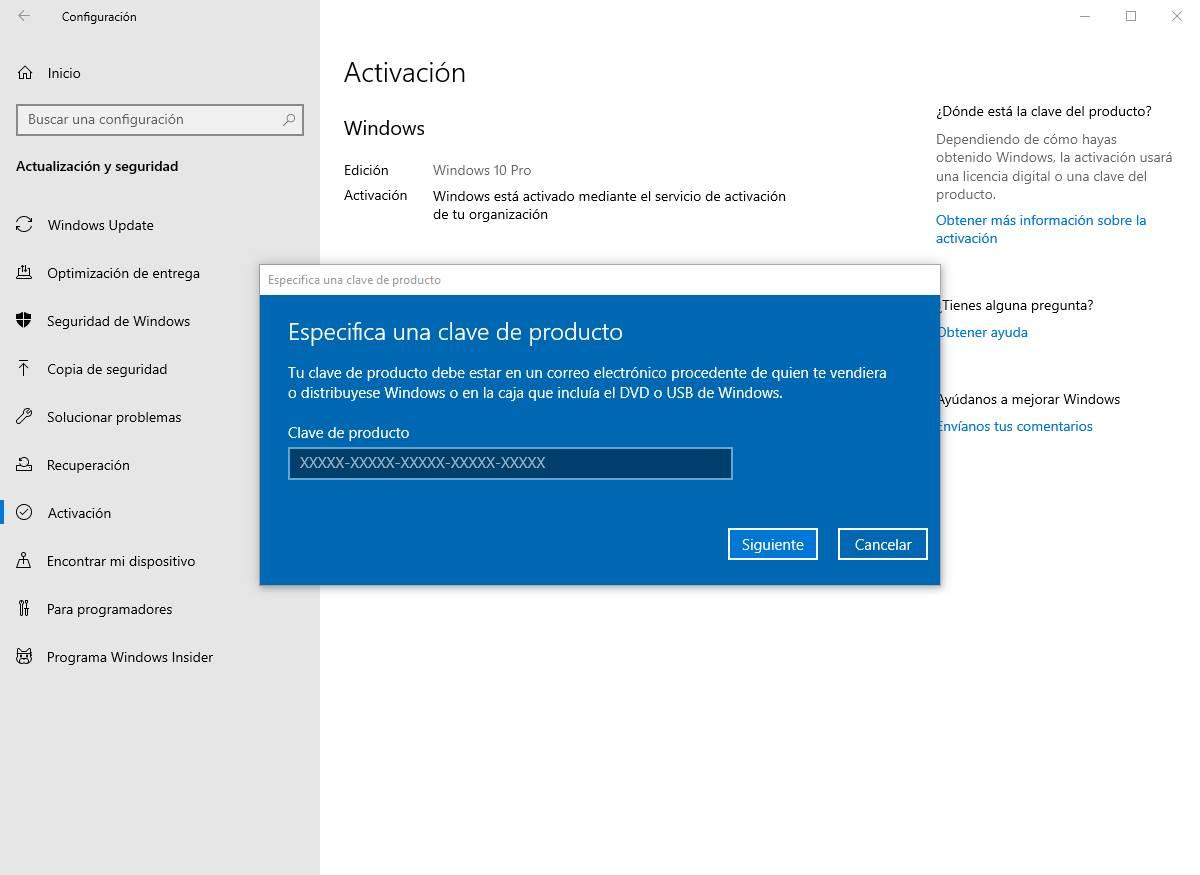
Figure 7: Enter Product Key
The Windows activation agent itself will recognize the new key and activate it. A few seconds later, and after restarting the computer, we will already have our system in its Professional edition, with all the functions and features available. And since we have not formatted, all our data remains as is.
Use VersionSwitcher
VersionSwitcher is an open source program, and completely free, that will also allow us to go from a Windows Home to a Pro without having to buy or enter any password on our PC. This program takes advantage of KMS activation to be able to change the edition of our system just by double-clicking on a .bat script.
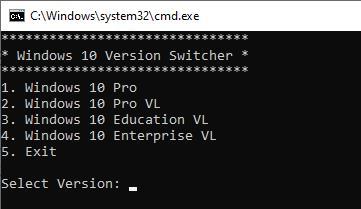
Figure 8: VersionSwitcher Tool
The changes that this program allows us to make are:
- Home -> Pro, Education VL, Enterprise VL
- Pro -> Pro VL, Education VL, Enterprise VL
- Pro VL -> Pro, Education VL, Enterprise VL
- Education VL -> Pro, Pro VL, Enterprise VL
- Enterprise VL -> Pro, Pro VL, Education VL
And what about Windows 11 Home and Pro?
Microsoft’s new operating system is still an updated and improved version of Windows 10. And, therefore, they share all kinds of features, including the differences between the Home and Pro versions.
The main difference between Windows 11 Home and Pro is that Home edition users will now need to be connected to the Internet, and use a Microsoft Account, to create a new user on the PC. This is how we say goodbye to offline accounts, something that will only be available in the Pro editions of Windows.