How to install a clean Windows 11
Before you start
Please ensure you have your valid product key ready before following these installation steps. If you don't have one, purchase one here.
We want to show you how to install Windows 11 the right way on your PC or laptop. We are aware that there are several different methods to install Windows 11, including upgrading from Windows 10, using an ISO file, or doing a clean install. However, here, we want to show you the most user-friendly option installing Windows 11 from a bootable USB using the official Microsoft Media Creation Tool.
Windows 11 System Requirements
Over the course of time, Microsoft has adjusted the Windows 11 system requirements several times. This may also happen in the future to adapt to new hardware standards and security updates.
- Processor (CPU): 1 gigahertz (GHz) or faster with 2 or more cores on a compatible 64-bit processor or System on a Chip (SoC). Check Microsoft’s compatible CPU list to confirm your processor is supported.
- RAM: 4 gigabyte (GB) minimum. (We recommend at least 32GB of DDR4 or DDR5 RAM for current gaming PCs and workstations).
- Storage: 64 GB or larger storage device. (We recommend an NVMe M.2 SSD for the fastest boot and load speeds).
- System Firmware: UEFI BIOS, Secure Boot capable.
- TPM: Trusted Platform Module (TPM) version 2.0 a key Windows 11 requirement.
- Graphics Card (GPU): Compatible with DirectX 12 or later with WDDM 2.0 driver.
- Display: High definition (720p) display greater than 9″ diagonally, 8 bits per color channel.
- Internet & Microsoft Account: Requires an active internet connection and a Microsoft account for the initial Windows 11 setup and activation.
What do you require for a Windows 11 installation?
- One-time access to a 2nd PC or laptop running Windows 10 or Windows 11.
- USB flash drive with at least 16GB of free storage space (USB 3.0 recommended for faster installation).
- Windows 11 Media Creation Tool (free download from Microsoft).
- Valid Windows 11 license with product key (Home, Pro, or Enterprise edition).
Preparation: UEFI BIOS
It is important that your operating system runs on a solid foundation. We recommend ensuring your UEFI BIOS is up to date with the latest stable firmware from your motherboard manufacturer (ASUS, MSI, Gigabyte, ASRock, etc.). An outdated BIOS can cause TPM 2.0 detection failures, Secure Boot errors, and CPU compatibility issues that will block your Windows 11 install.
Important BIOS Settings
- DRAM / Memory: Enable XMP (Intel) or EXPO / D.O.C.P. (AMD) profiles to run your RAM at its rated speed.
- Chipset / PCIe: Enable Resizable BAR (ReBAR) / Smart Access Memory (SAM) for better gaming and GPU performance.
- Secure Boot: Enabled (required for Windows 11).
- TPM 2.0 / fTPM / PTT: Enabled (required for Windows 11).
- Boot Mode: UEFI only (disable Legacy / CSM mode).
Downloading and using Media Creation Tool
- Go to the official Microsoft Windows 11 download page.
- Click “Download Now” under “Create Windows 11 Installation Media”.
- Insert your USB flash drive (16GB or larger) into the PC. Back up any important files first the drive will be wiped during the process.
- Start the Media Creation Tool and click “Accept” to agree to the license terms.
- Select your language and Windows 11 edition, then click “Next”.
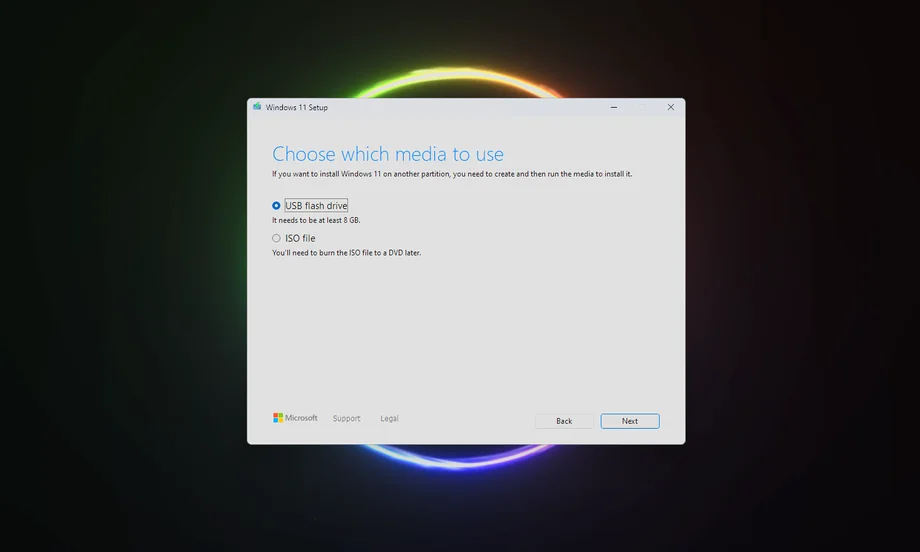
- Select “USB Flash Drive” as the installation media type.
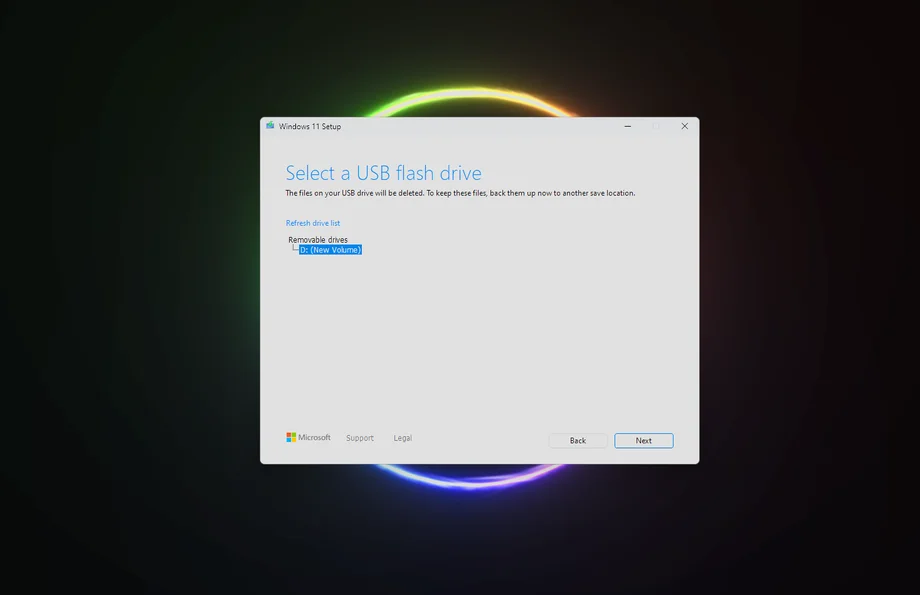
- Select your USB drive from the list and click “Next”.
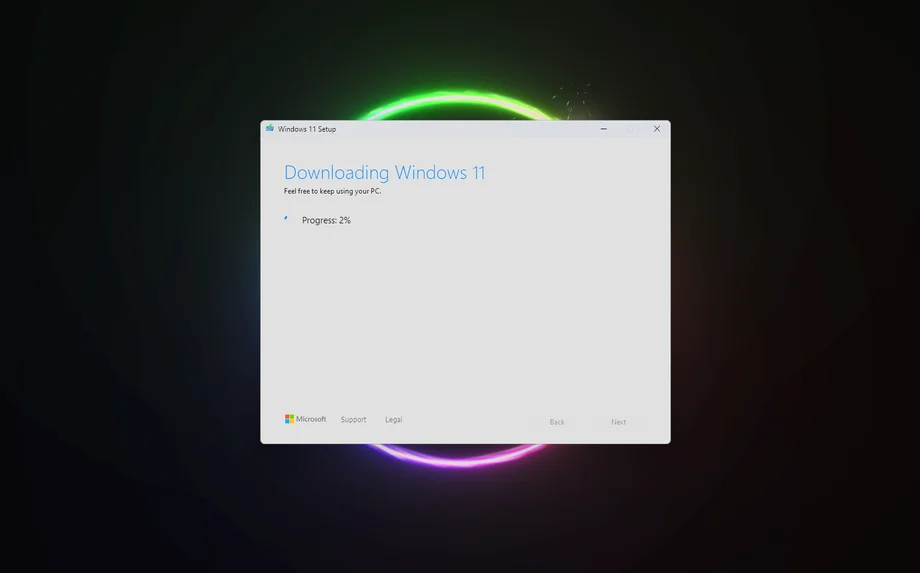
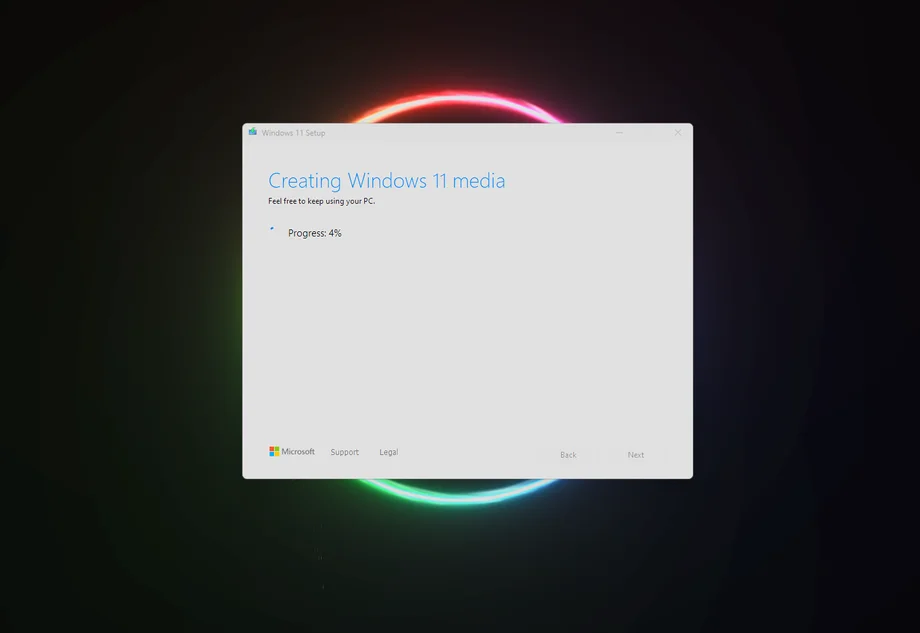
- Wait for the Windows 11 ISO download and bootable USB creation process to finish. Click “Finish” when done and safely eject the USB drive.
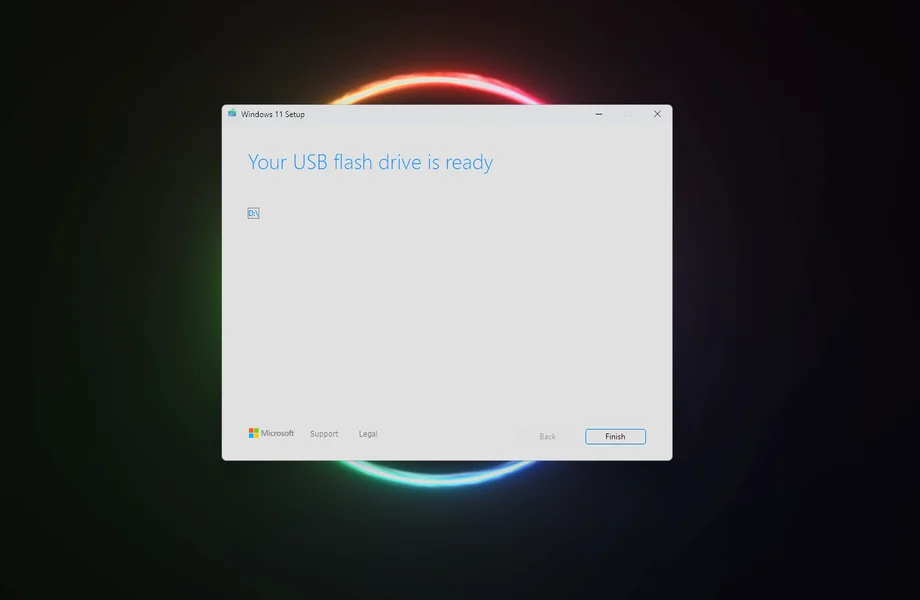
Starting the Windows 11 setup
Insert the USB stick into the PC where you want to install Windows. Ensure monitor, mouse, keyboard, and LAN cable are connected.
- Boot your PC from the USB stick.
- Select Language, Time, and Keyboard, then click “Next“.
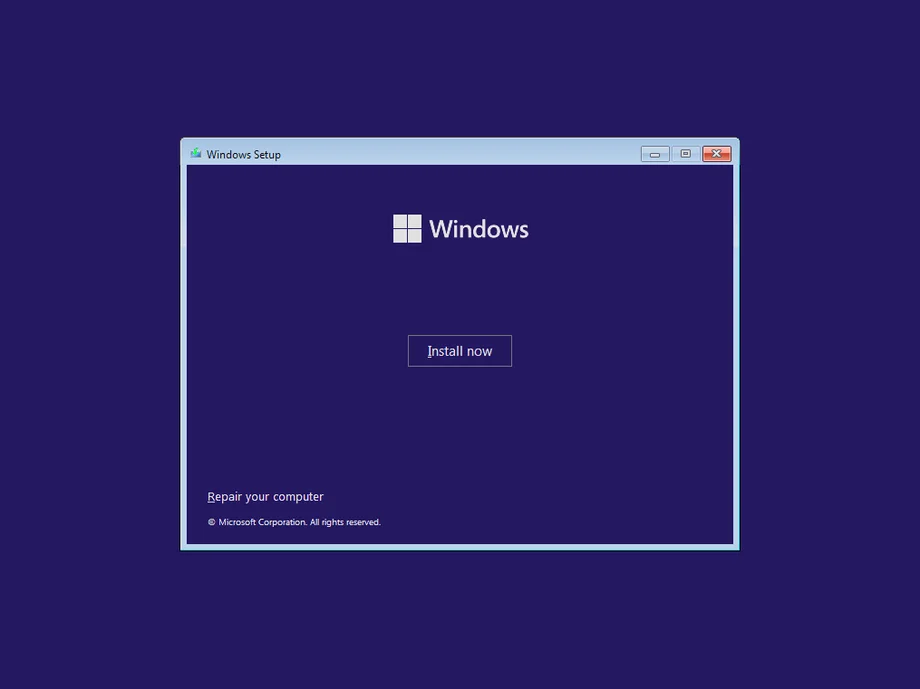
- Click “Install now“.
- Enter your license key (or click “I don’t have a product key” to do it later).
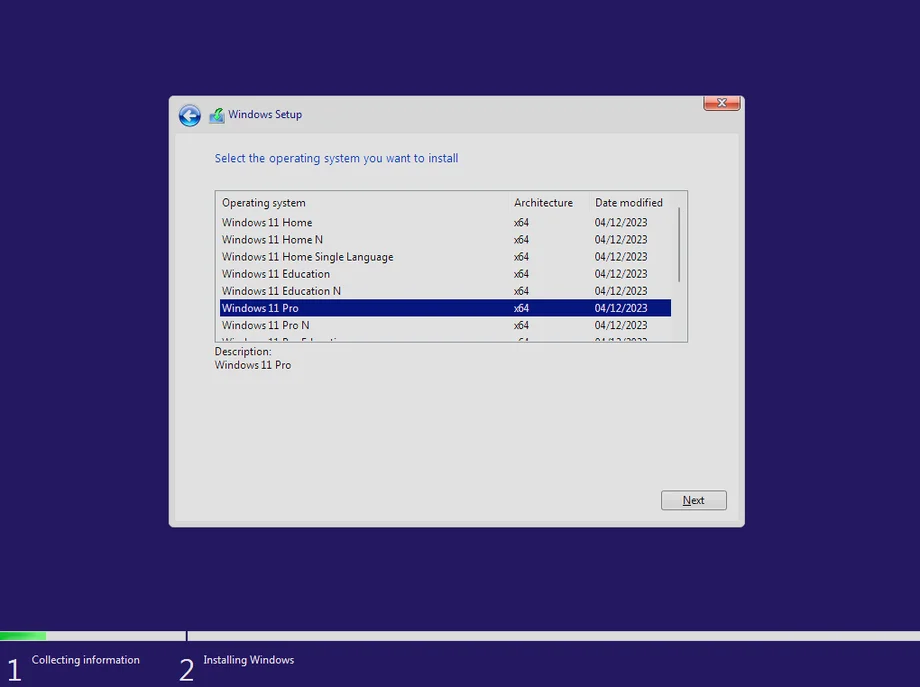
- Select the correct Windows 11 version if prompted.
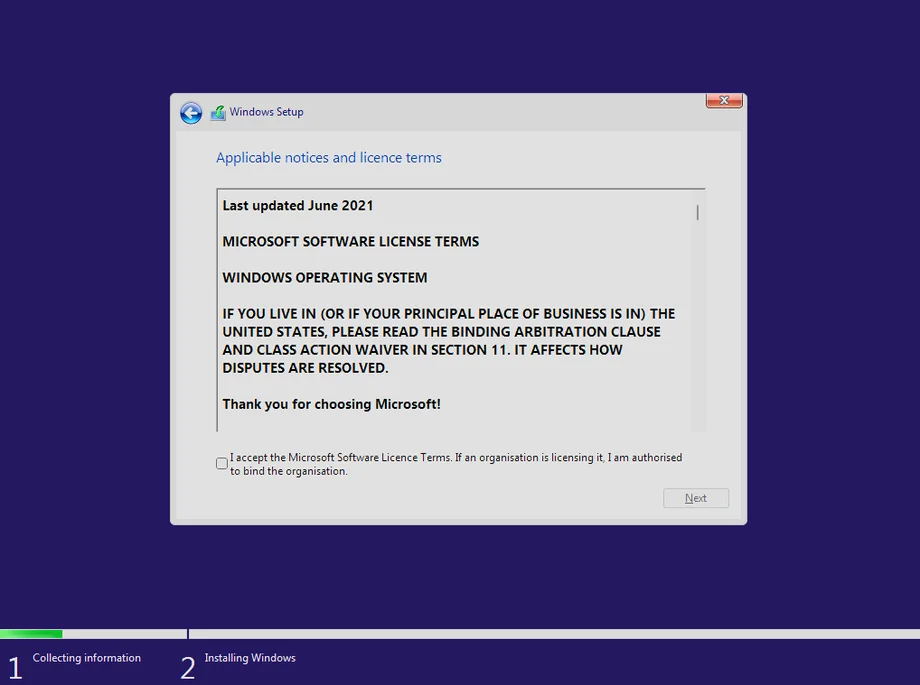
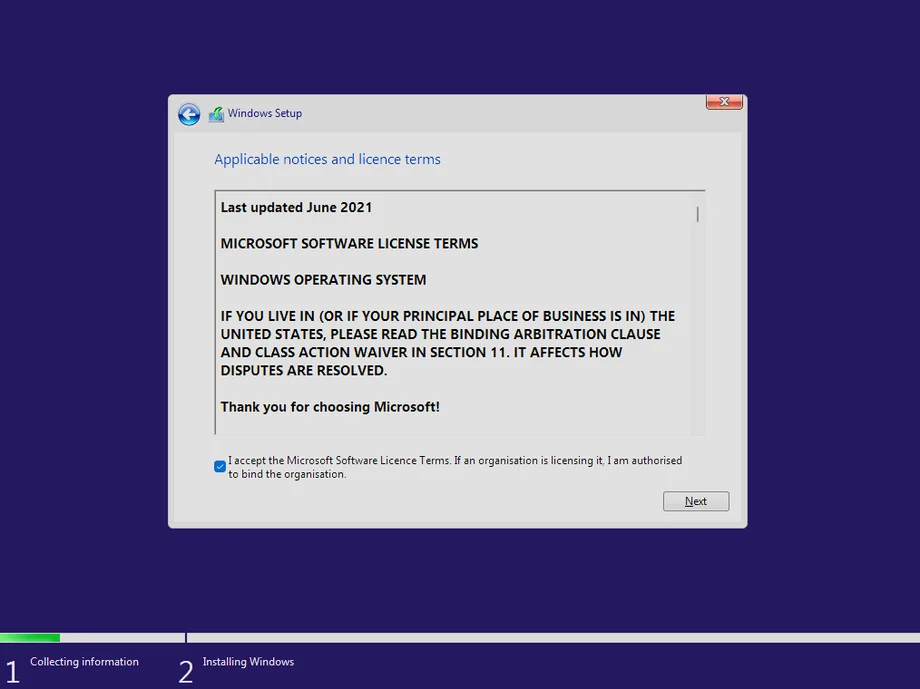
- Accept the license terms.
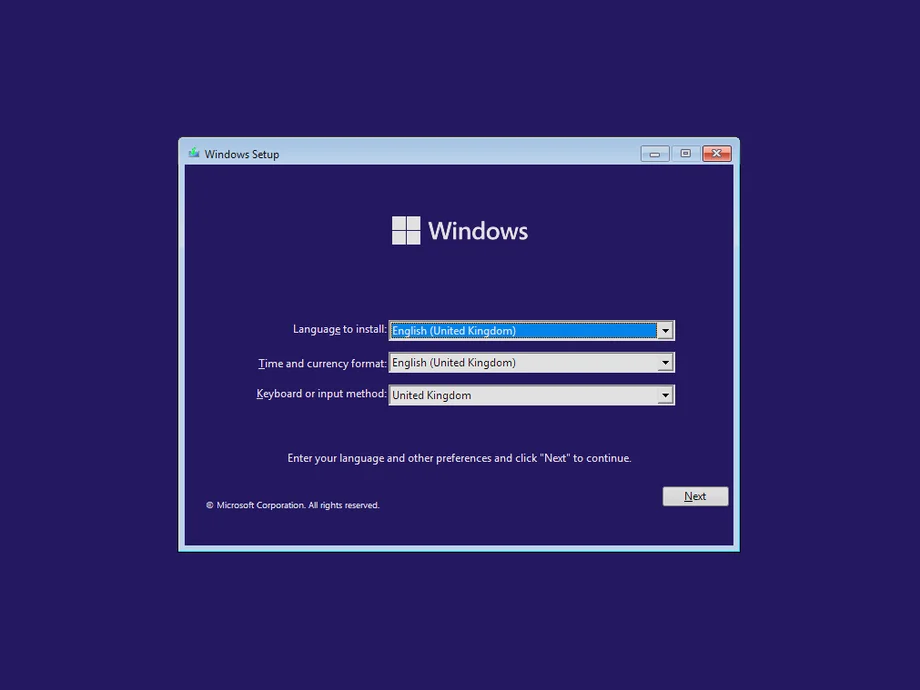
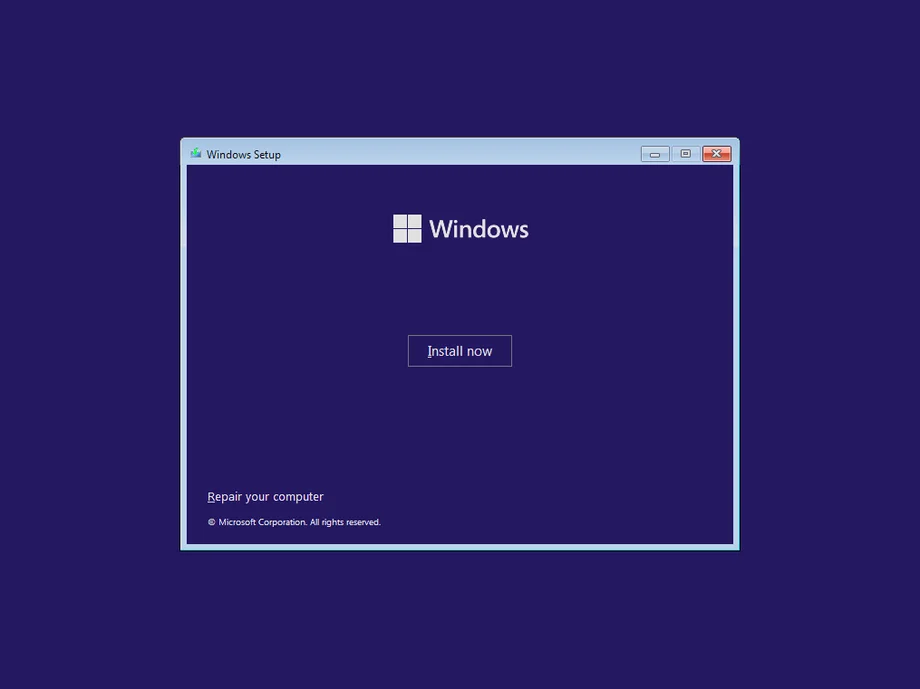
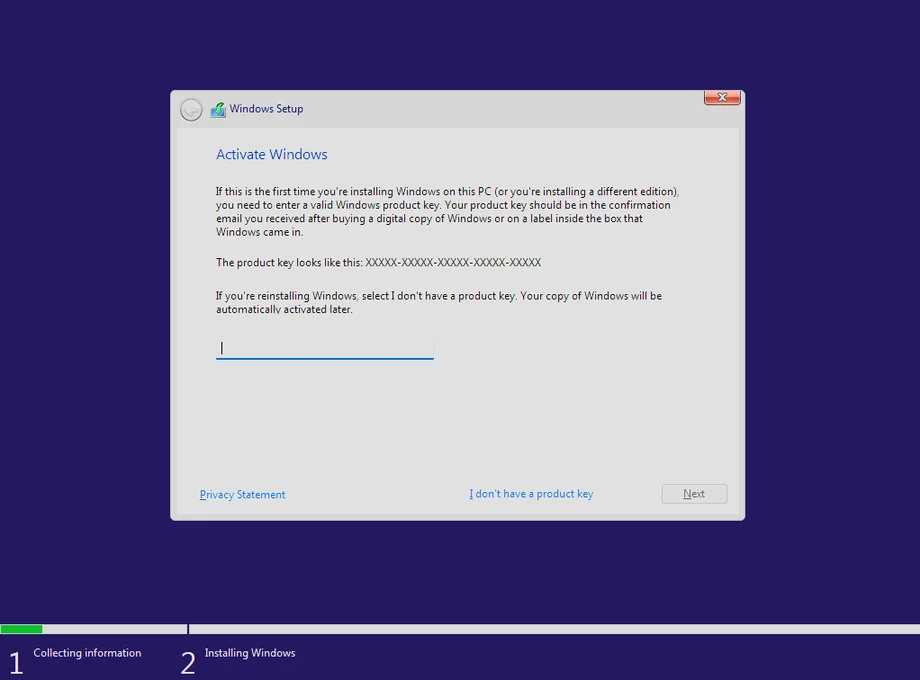
Install Windows 11 on a drive
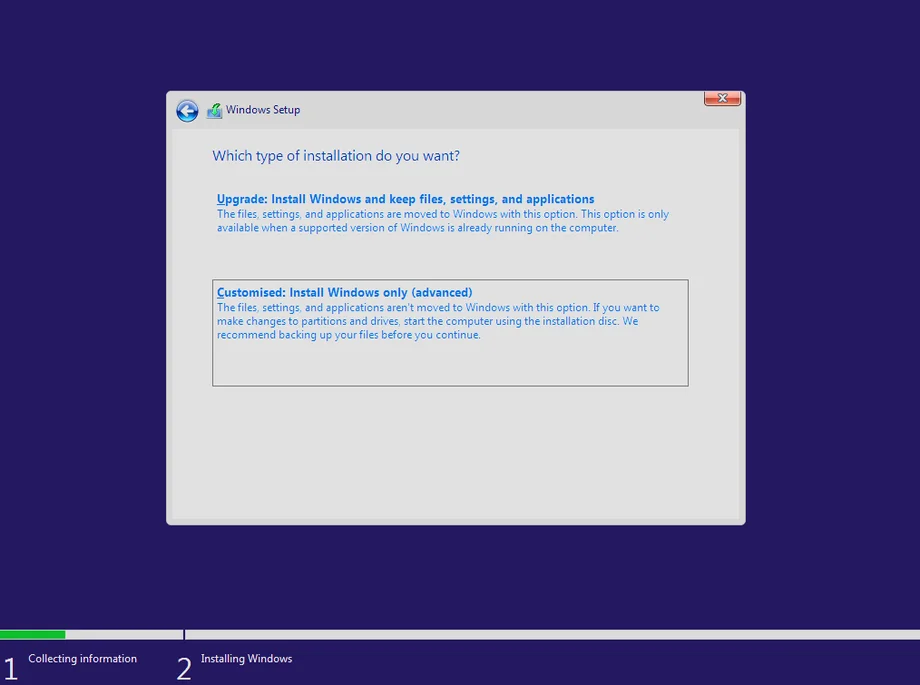
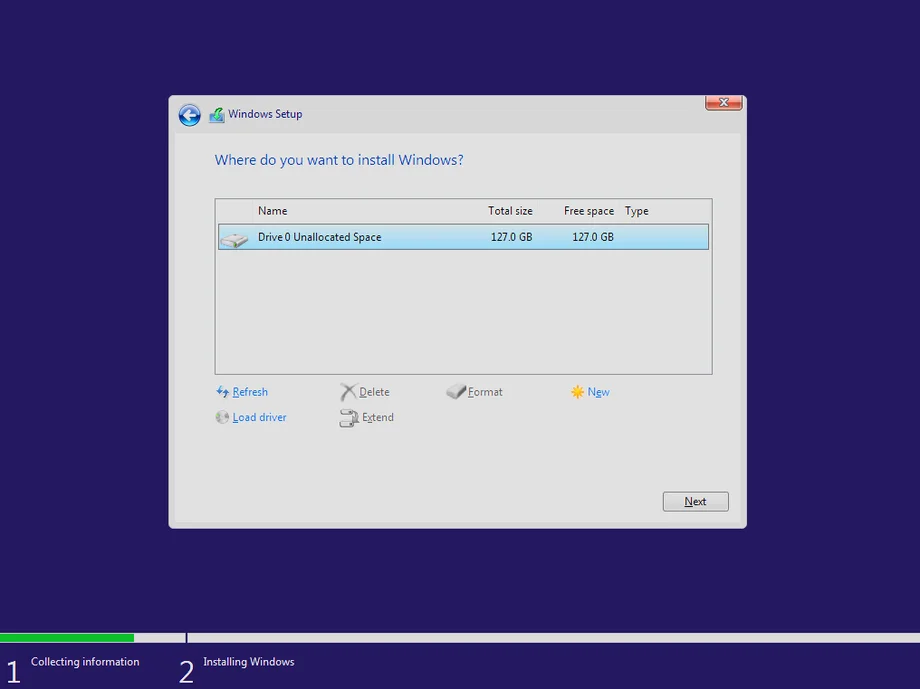
- Select “Custom: Install Windows only (advanced)“.
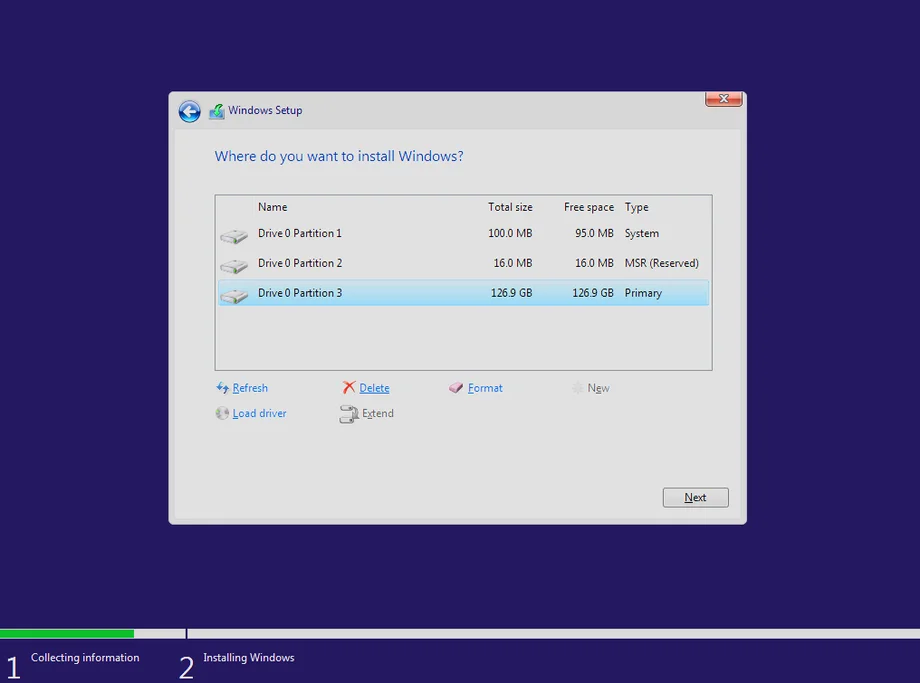
- Cleaning old partitions: If re-installing, select each partition on Drive 0 and click “Delete” until you see only “Drive 0 Unallocated Space”.
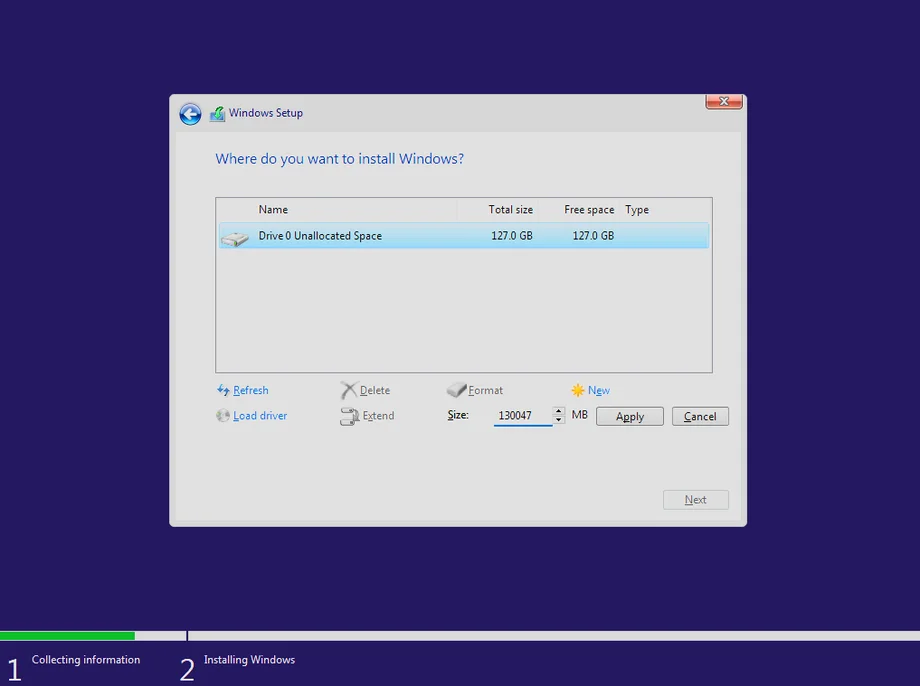
- Select “Drive 0 Unallocated Space” and click “Next” (or “New” to specify size, but normally just Next is fine for full usage).
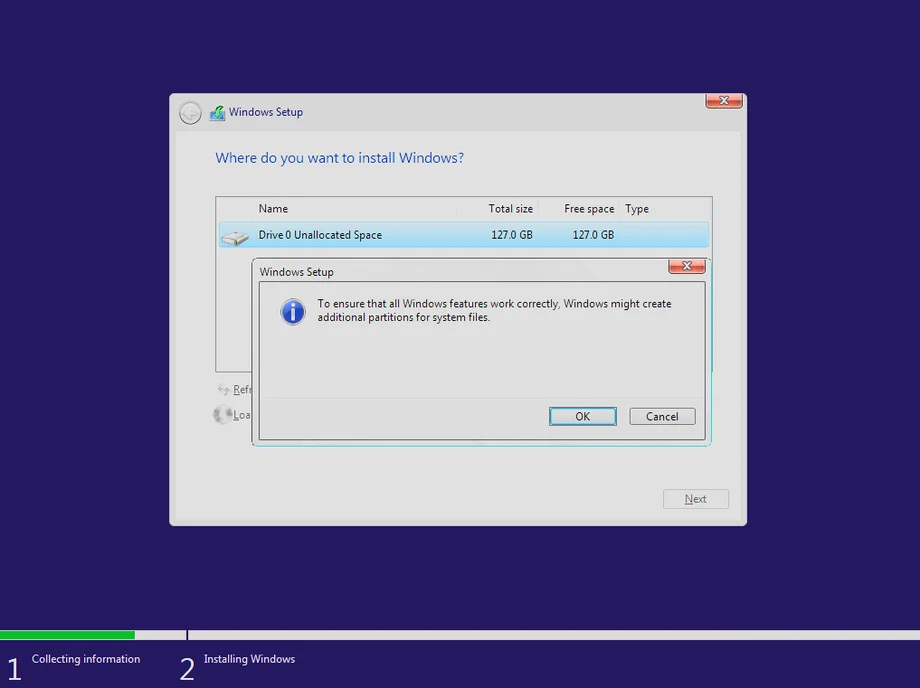
- Windows will create necessary system partitions automatically. Click “OK“.
- The installation will begin. The PC will restart automatically when finished.
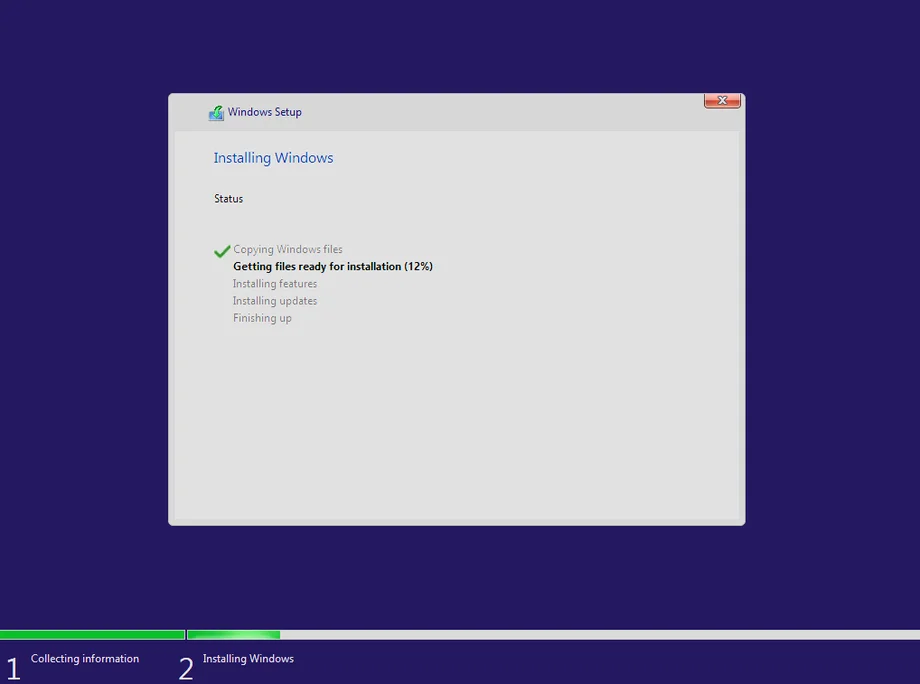
Complete the Windows Setup process
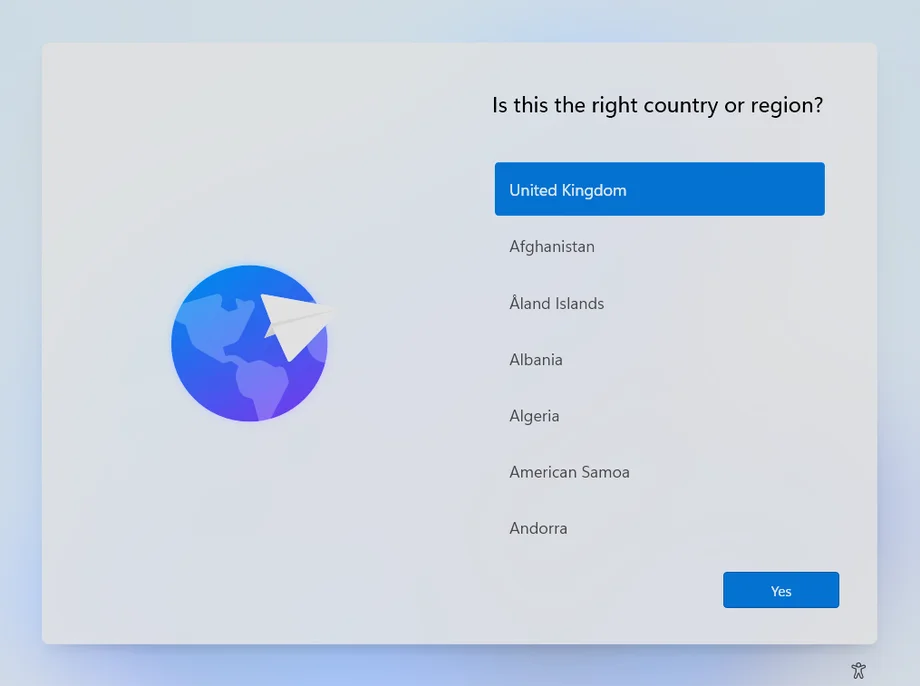
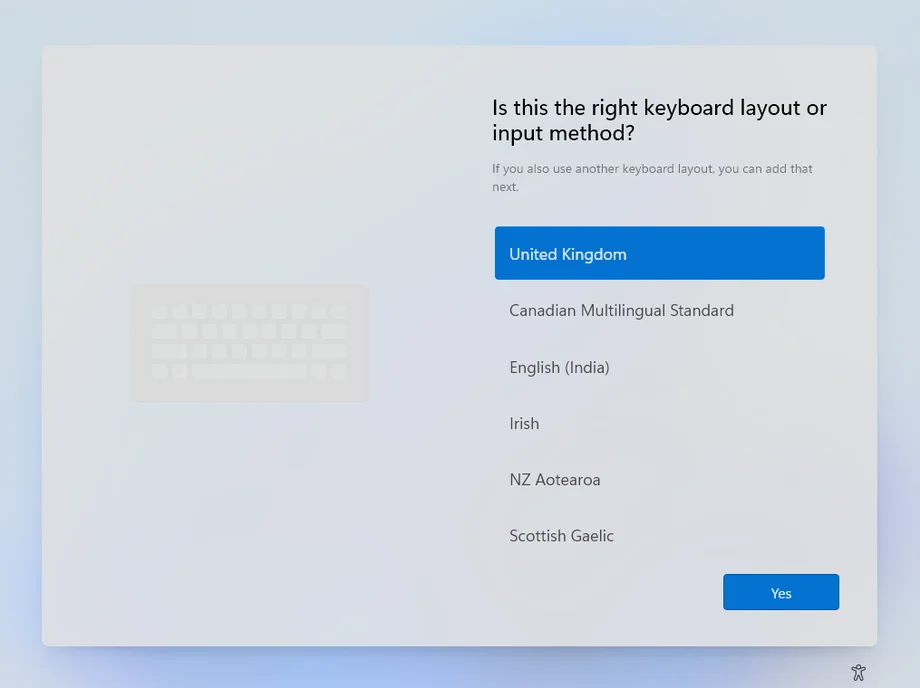
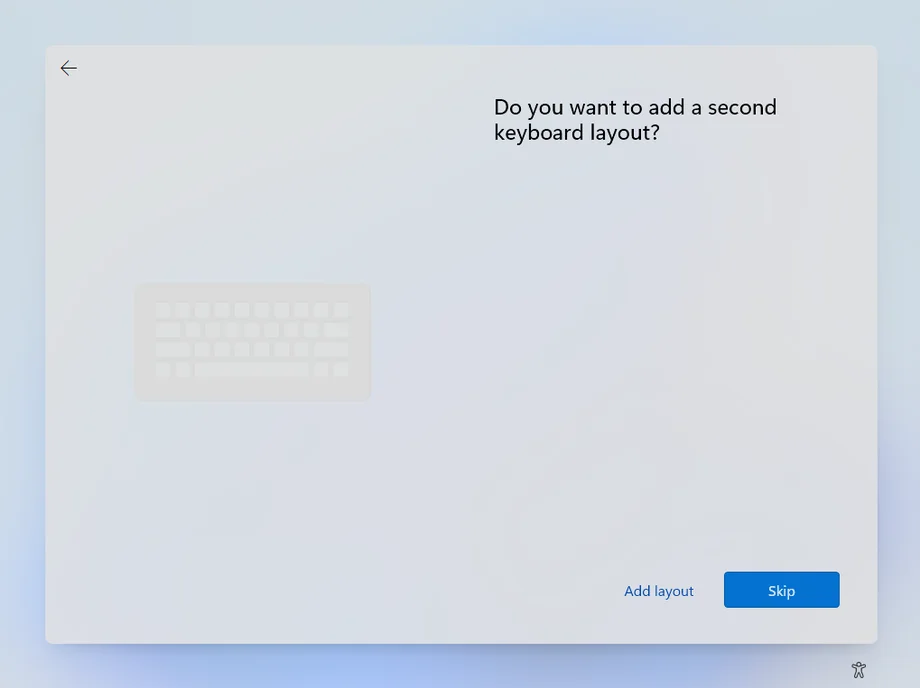
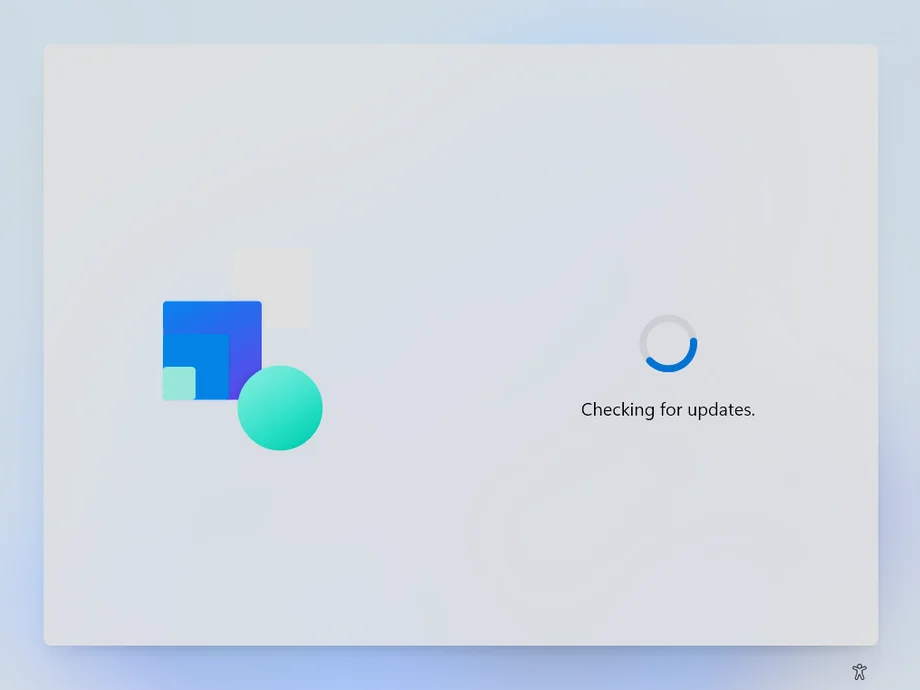
- Select Country and Keyboard Layout. Skip 2nd keyboard layout.
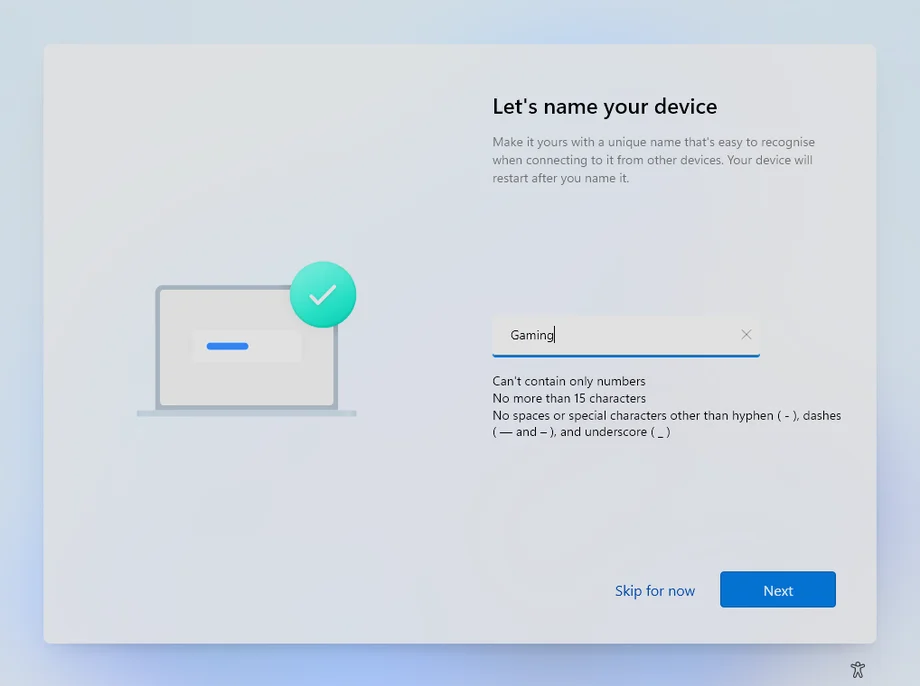
- Name your device: Give it a name like “Gaming-PC”.
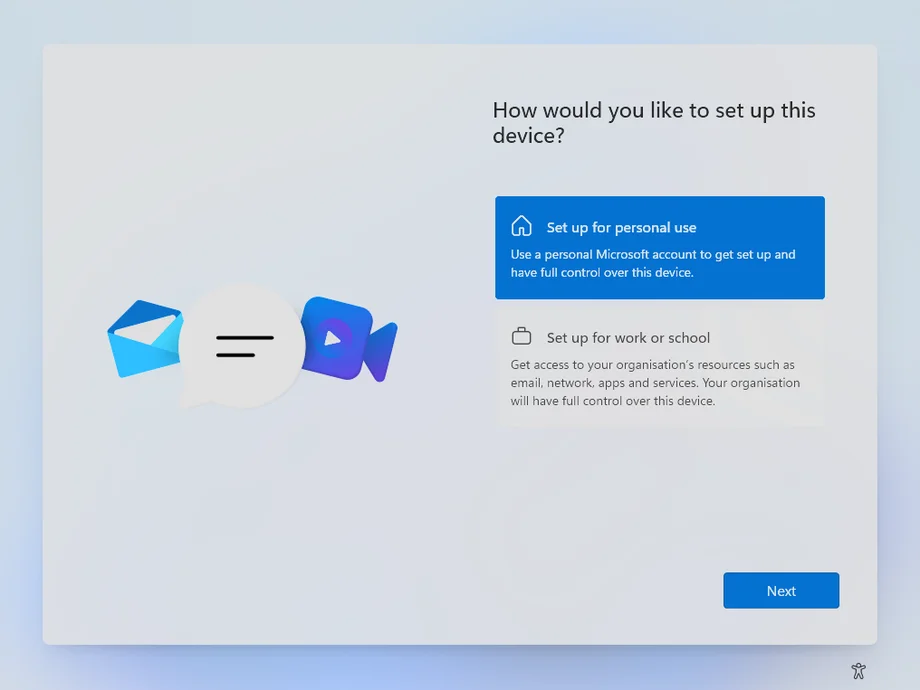
- Usage: Select “Setup for personal use”.
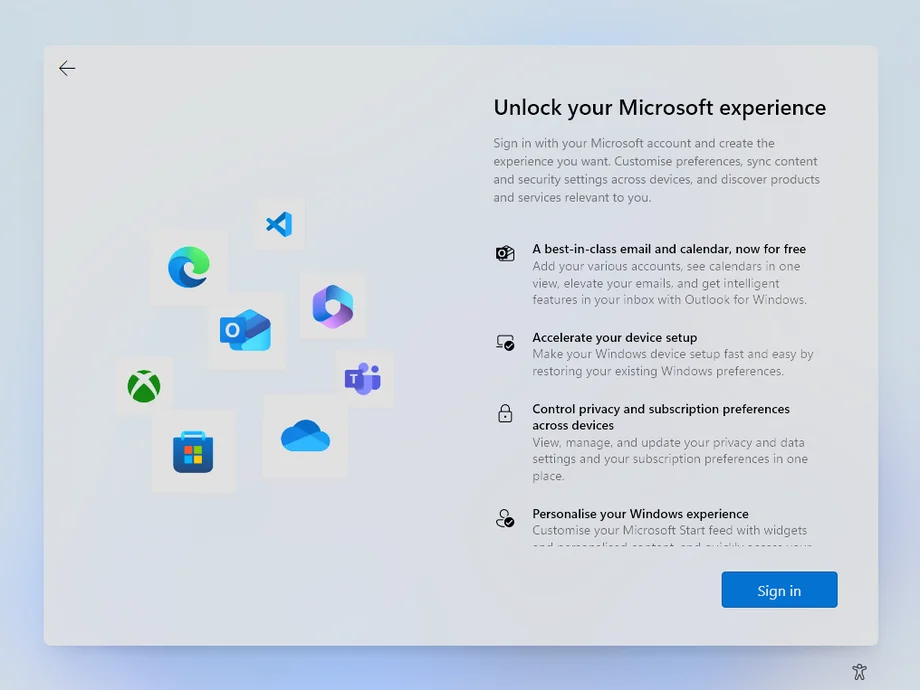
- Sign in: Log in with your Microsoft Account (or create one).
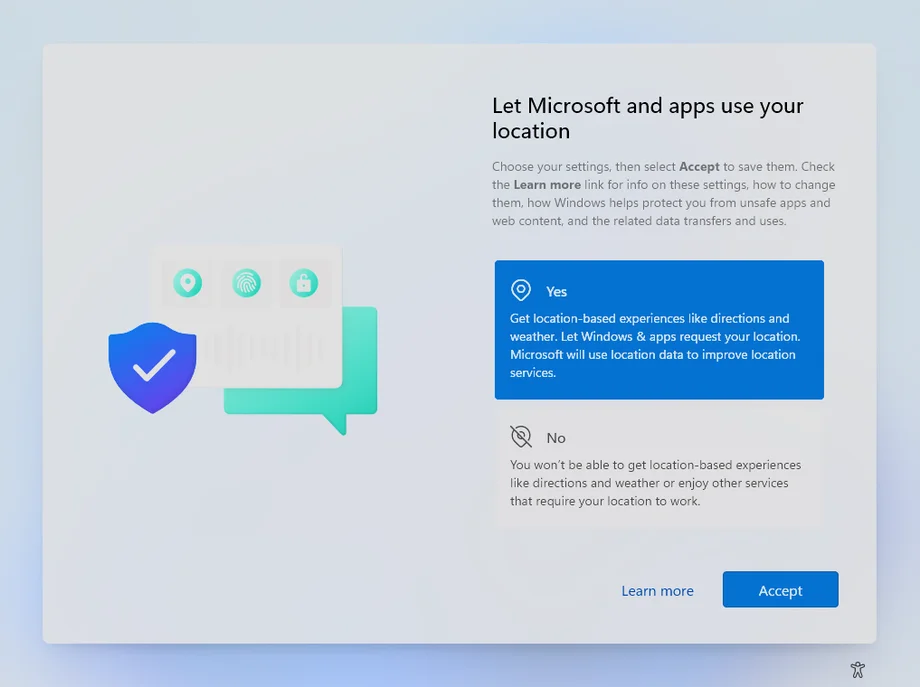
- Privacy Settings:
- Location: Yes (for regional apps/games).
- Find my device: Yes (useful for laptops).
- Diagnostic data: Required only.
- Inking & typing: No (unless using a stylus).
- Tailored experiences: No.
- Advertising ID: Yes (important for Xbox/GamePass).
What should you do first after installing Windows 11?
It is crucial to install specific drivers in the correct order for optimal performance.
1. Chipset Drivers
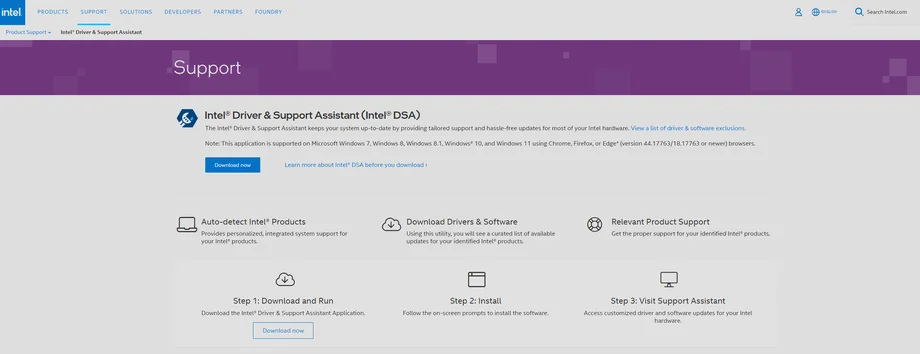
Download the auto-installer for your CPU manufacturer:
2. Video Card Drivers
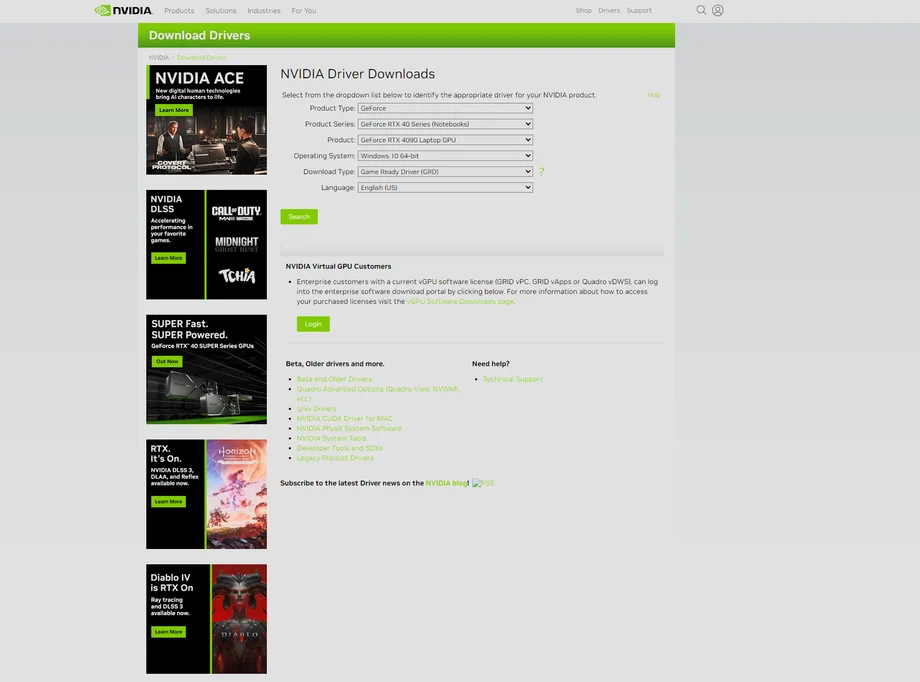
Nvidia: Use the Nvidia App or download manually.
AMD/Intel: Usually handled by the auto-installers above.
3. Windows Updates
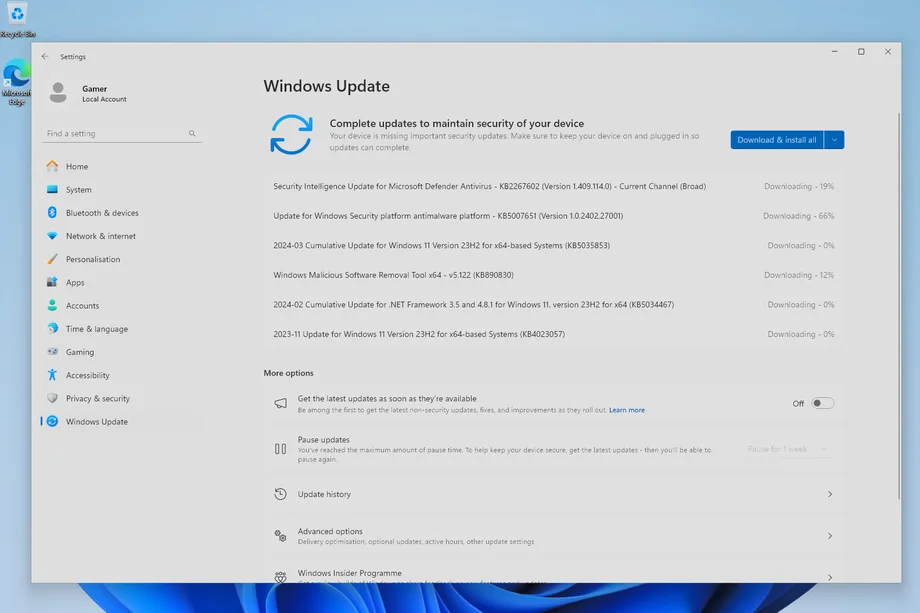
Go to Settings > Windows Update > Check for updates. Install all pending updates and restart your PC.