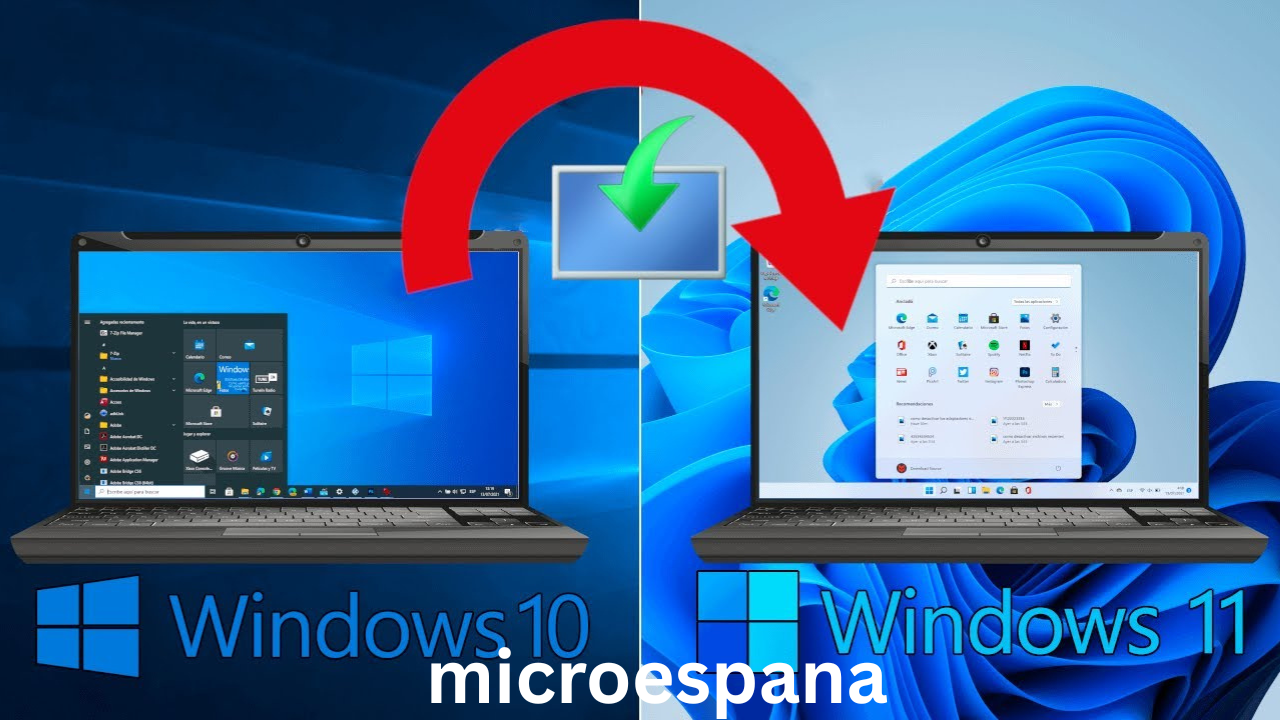
Microsoft’s new operating system, Windows 11, is now available. Although Microsoft promised that Windows 10 would be the last Windows as such, six years later it has finally had to release a new version of the OS, a version that also comes with new technologies and a radical aesthetic change. A Windows clearly designed for the future. An operating system that we can now jump to for free to start enjoying its improvements and new features. Let’s see how.
In fact, we could say that a huge number of regular users of Microsoft’s operating system were waiting for the arrival of this new software. Now, we know that not everyone has been able to upgrade to Windows 11 from the very beginning, as several essential requirements regarding our PC’s hardware must first be met. Nevertheless, below we’ll discuss different methods for carrying out this update in the simplest way possible.
Table of Contents
Preliminary steps before updating Windows
Before we start looking at how to update, we remind you that Windows 11 comes with some very strict requirements. The most serious ones are the use of UEFI with Secure Boot and have a TPM 2.0 chip on the motherboard. If we don’t meet these two requirements, we can forget about Windows 11, since we won’t be able to upgrade to it using either of these two methods. And forcing a clean installation on an unsupported PC, while possible, is fraught with problems.
If our computer isn’t compatible, there’s little we can do. However, if we meet the requirements, before continuing, we can perform a series of tasks that will help make the update process more manageable and reduce the chance of errors or something going wrong.
The first thing we need to do is make sure that Windows 10 is up to date with the latest cumulative patches. In addition, it is also important update drivers, since the latest versions that have been released in recent months have added compatibility with this new operating system.
There are programs, such as antivirus, that can cause problems when updating to a new version of Windows. Therefore, we must uninstall any antivirus other than Windows DefenderIf we want, we can reinstall it once the new system installation is complete, although Windows Defender offers everything we need to stay secure without relying on other security programs. The same applies to any other program that makes changes to the system and may be prone to failure when updating.
Lastly, back up data most important will also help us so that, in case something goes wrong, we do not lose our data.
How to upgrade to Windows 11 from Windows Update
Microsoft plans to release the new version of its operating system through Windows Update, just like all other versions. Thus, all users who want to install the operating system quickly and without complications will only have to check for new updates and click the “download and install» which will appear as an optional update.
For this update to appear, we must first make sure that our Windows 10 is updated to version 2004, 20H2 or 21H1 (preferably the latter) and that all updates, both security and optional, are installed on the PC.
When you click the download and install Windows 11 button, the download of the new system will begin and your PC will be prepared for installation. When it’s ready, your computer will restart and continue the setup process. You may need to manually complete the initial wizard to complete your OS setup.
Once the wizard is complete, your Windows 11 will be ready. You’ll see the new desktop, the new overall look, and all the new features Microsoft has prepared for this operating system. Plus, all your data will be on your computer just like it was in Windows 10.
Microsoft reminds you to update
A few months after the launch of the new operating system we’re talking about in these lines, Microsoft has set itself the serious goal of migrating as many users as possible from previous versions of Windows. Right now, Windows 11 is one of its most important bets and it can’t let time pass and its customers stagnate on other versions. versions.
That’s why the company is implementing a series of strategic moves as a reminder to remind us that we must migrate as soon as possible. One of these moves that many of you have surely been observing over the past few months. It’s more than likely that many of you have been noticing an update icon with a blue dot located on the right side of the taskbar. Windows 10.
Well, this is a clear reminder that we always have in sight; Microsoft has already taken care of it, and we can click on it at any time to perform the migration. Hopefully, the blue dot icon won’t disappear until we complete this important step.
Force update if not available
As usual, Microsoft isn’t going to bring the new version of Windows to all users on day zero, but rather plans a rollout in waves. And, given the size of its new operating system, it’s very likely that these waves will be small and spread out over time. Therefore, it’s possible that this new operating system might not appear in Windows Update yet. This doesn’t mean our PC isn’t compatible, it just means that the time hasn’t come yet.
We can wait patiently for Windows 11 to arrive on our computer. But if we don’t want to wait, we can force the update. At our own risk, of course. To do this, all we need to do is go to Windows 11 downloads section and download the tool provided by Microsoft, just like in the case of Windows 10.
This tool will allow us to update our computer to the new version of Windows before it reaches Windows Update. All we have to do is follow the update wizard, which will check that our PC is compatible with Windows 11 requirements and begin the update process.
This process may take quite a while, depending on your PC’s hardware. You should wait for it to finish and complete (if prompted) the initial wizard, answering any questions it doesn’t ask.
We now have Windows 11 installed. And we can start enjoying all the new features and improvements.
Upgrade to Windows 11 without TPM 2.0
The main problem users will face when installing this operating system on their computers is not meeting the TPM 2.0 requirement or using a CPU incompatible with the new system. Although these limitations were not initially intended to be disabled, Microsoft has created a kind of “back door” that allows us to install the new Windows 11 even if we don’t meet these requirements.
To do this, all we need to do is open the Windows registry editor by typing the command “regedit” in the search box and navigate to the following directory:HKEY_LOCAL_MACHINE > SYSTEM > Setup > MoSetup
If it doesn’t exist, we create it with the right mouse button > New > key. And, once inside this directory, we’ll create a new 32-bit DWORD value (again, with the right mouse button > New > DWORD value) and we’ll name it “AllowUpgradesWithUnsupportedTPMOrCPU«. We double-click on this value, and we will assign it the value «1».
After this, we restart the computer, and our PC will be configured to bypass these limitations and be able to install the new operating system without problems.
How to upgrade from Windows 7 or 8 to Windows 11 for free
If you haven’t yet made the jump to Windows 10, for whatever reason, Microsoft won’t let you upgrade directly to the new Windows 11 as it did with its predecessor. However, we don’t have to worry, as with a couple of intermediate steps, we’ll be able to install the new operating system without any problems. And, if our key is original, we can even keep the license so we don’t have to pay again.
The only thing we need to do in that case is update our operating system, whatever it is, to Windows 10. We can do this from Windows Update (since the update will surely appear), or by downloading the tool to update the PC for free. from the Microsoft website.
This tool will allow us to download and install the latest version of the operating system on our PC. The update process is slow (it can take up to several hours), but once it’s finished, we’ll have Windows 10 installed on our PC. And all our programs, files, and other data on our PC will be intact, just as they were with the previous version of the operating system.
From here, we need to follow the steps we saw previously to download and install the new update to Windows 11. And, thus, be able to enjoy the improvements and new features that Microsoft has prepared for us (and there are quite a few).
What to do after installing Windows 11
Windows 11 isn’t a bad operating system, although it’s true that it’s not off to a great start. Users generally struggle to adapt to change, and in this regard, Windows 11 changes quite a few things compared to its predecessor, Windows 10.
So, if you’ve already made the jump to this new operating system but haven’t quite gotten used to it, here are a series of recommendations to help you survive the changes Microsoft has implemented.
Update Windows and your drivers
If you’ve just installed Windows 11, you’re probably amazed (or not) by all the changes that have suddenly appeared. However, one aspect we shouldn’t forget is updating our PC. We must open the System Settings menu (Windows + I) and go to the Windows Update section.
There, we’ll perform a manual update check to find any available updates for both the antivirus (Windows Defender) and the system. We can also download any new drivers available so our PC can run at its best.
Some of these updates may be “optional” and won’t be installed automatically. Therefore, we must make sure to check for these optional updates within the advanced settings of Windows Update.
Check your license key
Once you’ve installed Windows 11, or upgraded from Windows 10, you should make sure the operating system is properly activated to avoid any issues. Generally, you won’t need to do anything, but for peace of mind, you should go to “System > Activation” to check the license status of your operating system.
If everything is correct, we won’t need to do anything else. And if there’s a problem with the license, we can always resolve it from these same sections.
And, if you want to save your Windows 11 license (for example, to install the OS on another PC), you can easily retrieve it by opening a CMD window within Windows Terminal and running the following command:wmic path softwarelicensingservice get OA3xOriginalProductKey
Disable Cortana in Windows 11
Although it has lost much of its prominence, Microsoft is still determined to encourage us to use Cortana, its personal assistant. Therefore, it remains enabled by default in the operating system, consuming resources that we’ll likely need for any other program we run.
If you don’t want to use this assistant, there are several ways to disable it to prevent it from running. You don’t need to forcefully delete it, as was the case, for example, in Windows 10; simply remove it from the system startup menu. To do this, open the Task Manager (Control + Shift + Esc) and navigate to the Startup tab. There, locate Cortana and disable it by right-clicking.
Cortana will now be disabled in Windows 11.
Configure and change the Start and taskbar
Don’t like the new Windows taskbar? No problem. While we won’t be able to get the Windows 10 taskbar back, we can make it look as similar as possible. So, the first thing we’ll do is open the system settings menu (with Windows + I), and go to Personalization > Taskbar. Here we’ll find the icons we want, or don’t want, to display.
This way, for example, we can hide the Teams icon if we don’t use it, or the desktop widgets icon.
Additionally, we can also align the taskbar to the left, just as it was in previous versions of the operating system. To do this, simply go to the “Taskbar Behavior” section in this same menu, and select whether you want it to be aligned to the left.
Change the sound output device
Do you have headphones, speakers, and other audio output devices connected to your PC at the same time? Windows 11 makes it easy to switch between them without having to go into your computer’s settings. To do this, simply click the sound icon next to the clock, then click the small arrow to the right of the volume bar.
Here, all the sound devices connected to your computer will appear. Select the one you want to use, and that’s it. It will automatically switch to this new device.
Check your privacy
Windows is collecting more and more user data. This data is typically analytical and anonymous, but it’s becoming increasingly intrusive and is always linked to our Microsoft account. Although we’ve been able to configure many of the OS’s privacy options in the initial system setup wizard, we must also manually review all the options within the “Privacy and security” section of the system settings.
We recommend reviewing all the sections that we can find within this to adjust each of the options according to our tastes, whether we want to share the data with Microsoft or not.
Change default programs in Windows 11
There’s nothing more annoying than Windows trying to force us to use its own programs. Especially Edge as our primary browser. Therefore, one of the first things we usually do on our computer is change the default programs so we can use our own software. To do this, the first thing we need to do is access the operating system’s Settings window (remember, using the Win + I keyboard shortcut) and, within it, click on the “Applications” section to locate the “Default Applications” subsection.
Here, we’ll search for the program we want to use (for example, Google Chrome), and when we enter its section, we’ll see a button called “Set as default.” Click it, and Chrome (or whatever program) will automatically become the default program for opening certain files.
Finally, if this method doesn’t work, we can also change the extension by clicking on each one to make the program we want the default for opening all those file types.
Create a local account without Outlook
It’s becoming increasingly difficult to create a user account on your PC without it being tied to a Microsoft Account. The company wants to keep us increasingly under control in this regard. While creating one of these accounts was relatively easy in Windows 10, with the latest updates to this operating system, and especially with the arrival of Windows 11, the process has become enormously complicated. But it’s not impossible either.
All we need to do is start the Windows setup process and go to the section for creating a user account. Where it asks for the account email, simply enter “no@thankyou.com,” and when it asks for a password, enter any password.
When you do this, Windows will detect that this account has been used many times, and that many login errors have occurred. Therefore, it will return an error and immediately allow you to continue creating a local user account.
Problems? Leave your PC looking like it just came from the store.
Over time, your computer may start to run poorly, slow down, and experience errors. In this case, what we should do is reset it completely. However, it’s not necessary to format and reinstall Windows 11 from scratch to return your PC to its factory settings. Simply open the Windows 11 Settings menu, go to System > Recovery, and use the “Reset this PC” option that appears there.
The very simple wizard will give us the option to download the latest version of Windows before reinstalling it, or use the system files to perform this task. We can also choose to keep our data and programs and reinstall only Windows, or perform a complete wipe to start over with the PC. There, we’ll choose the option that best suits our needs.
Once the process is complete, our computer will be ready with a factory-fresh Windows 11, with all the default settings and, if we choose the cloud option, updated to its latest version.
FAQs
Do you have questions about the Windows 11 upgrade process? Below, we’ll review the most common questions and address them as best we can.
Can I upgrade to Windows 11 from Windows 7/8.1?
Windows 11 is Microsoft’s new operating system. And, like its predecessor, it’s going to be completely free for all users who have an original copy of Windows 10. However, what if we’re still on Windows 7? In that case, Microsoft won’t allow us to. upgrade directly to Windows 11But there is a simple trick that allows you to get Microsoft’s new operating system completely free.
What we should do in this case is to do an intermediate stop in Windows 10From Windows 7 or Windows 8.1, we must use the upgrade assistant to upgrade to Windows 10 as explained in the previous step. In the process, our free Windows 7/8 key will be converted into a free Windows 10 key. We can then upgrade directly to Windows 11 from its own assistant, once the license key has been updated.
Of course, the old Windows key will not work for installing the new Microsoft operating system from scratch, so we will have no choice but to follow the process in both steps. Once the update is complete, we can link our new key to the Microsoft account. And then, we can format the entire PC to have a clean installation of Windows 11. After signing in with your Microsoft account, the new OS will be activated without having to pay for a new key.
However, if your computer is managed by Windows 7 or Windows 8.1, you most likely won’t be able to upgrade to Windows 11. Not because of licensing issues or anything like that, but because of the high hardware requirements Windows 11 requires two options (TPM and Secure Boot) that are only available on motherboards released in the last five years. It’s also required on the 5th-generation Intel processor. If you fail to meet even one of these requirements, you can forget about officially installing Windows 8.
This is because Windows 11 requires at least 4GB of RAM, compared to the GB required by Windows 10. Additionally, there is only a 64-bit version, unlike Windows 10 which was available in 32-bit and 64-bit versions. However, we can modify certain lines in the Windows registry to skip this check, although it is not recommended, especially if it is a computer that has been on the market for quite a few years, since some of the functions that Microsoft has introduced for improve user security against ransomware, they will not work on these computers.
If you make the jump from Windows 7 to Windows 10, you’ll notice a substantial change in both graphics and functionality. Windows 10 works just as well as, or even better than, Windows 7, so this was one of the concerns we had when upgrading our computer, and we can now easily cross it off our list.
How much does it cost to upgrade?
Generally, the upgrade process should be free for everyone. However, there may be some exceptions, as it depends largely on the condition of the PC before starting the upgrade.
If, for example, we have a legal version of Windows 7 or 8.1, we can get Windows 11 for free. However, since a direct upgrade isn’t possible, we’ll have to upgrade to Windows 10 first. What we need to do is use the accessibility options to take advantage of the free license upgrade. Once our original license is updated to Windows 10, we can upgrade to Windows 11.
If you already have Windows 10, with a legal key (OEM or Retail), upgrading to Windows 11 will not cost you anything.
Finally, if we don’t have a license, or if we have one that’s legally dubious, we’ll likely need to purchase a new key to unlock the system’s full potential and avoid being bound by its restrictions.
Will Windows 10 stop working when official support ends?
It’s important to know that Microsoft long ago decided to end official support for one of the most beloved versions of its operating system, Windows 10. This will be finalized on October 14, 2025. This change means the company will stop sending security and other updates for that specific version, at least for free.
Both businesses and end users will have the opportunity to enroll in the extended support program, which will provide them with updates for two more years, for a fee. As you can imagine, this is something launched specifically for corporate users. However, the company is already fully aware that millions of users will continue to work with this outdated version of the software to avoid having to migrate to Windows 11.
And this more current and modern version continues to generate enormous rejection, well beyond Windows regulars. At this point, some may wonder if the version that will no longer be supported will also stop working once the aforementioned date passes. The answer is no. The operating system itself will continue to function as it did until then, but it will no longer receive new features, and any security flaws that appear will no longer be patched.
Therefore, it will become vulnerable and dangerous software, as malicious actors will try to exploit this to access the data stored there. Hence the almost mandatory need to update to Windows 11 or any other supported operating system.