Learning how to install a Windows operating system can transform the way your computer performs, whether you’re setting up a brand-new device or repairing an older one. A proper installation ensures speed, stability, and enhanced security, while also giving you the freedom to customize your setup.
By following a Windows installation guide, you’ll understand how to back up files, perform a clean install Windows, or even manage a quick recovery. Whether you need to install Windows from USB for the latest version or explore a Windows step-by-step tutorial for older editions, mastering this process ensures smooth and reliable computing.
System Requirements for Windows Installation
Every version of Windows has its own requirements, and skipping a Windows compatibility check often leads to installation failures. You need to confirm processor support, memory size, storage capacity, and graphics capability before moving ahead. A visual installation walkthrough always starts with ensuring your computer meets these needs.
Here is a comparison of the recommended system requirements for different versions:
| Version | RAM | Storage | Processor | Graphics |
| Windows 11 | 4 GB+ | 64 GB+ | 1 GHz, 2 cores, 64-bit | DirectX 12 |
| Windows 10 | 2 GB+ | 32 GB+ | 1 GHz or faster | DirectX 9 |
| Windows 8/8.1 | 2 GB+ | 20 GB+ | 1 GHz | DirectX 9 |
| Windows 7 | 2 GB+ | 16 GB+ | 1 GHz | DirectX 9 |
Checking these details ensures you won’t face errors later. If you wonder “Can I install Windows by myself?”, the answer is yes, but only if your PC hardware passes these requirements.
Upgrade from Windows 10/11 Home to Pro – 1 PC Retail Digital License
Preparing Your PC Before Installation
Before you start, create a backup of all important files. A clean install Windows deletes everything on the drive, so data protection is vital. External drives, cloud storage, or network backups are good solutions. Many guides suggest following a laptop buying guide approach: prepare fully before making any major system change.
Disk cleanup is also essential. Removing unnecessary partitions or corrupted data prevents installation errors. Performing a Windows compatibility check ensures drivers and firmware will not fail after setup. This preparation saves time and avoids frustration during the actual process.
Creating a Bootable USB or DVD
The most common way today is to install Windows from USB. You can use Microsoft’s Media Creation Tool or software like Rufus to create a bootable drive. A Windows ISO file download is required, and you should always obtain it from Microsoft’s official website for safety.
Some older PCs still rely on the boot from installation DVD option. This method works the same way but is slower than USB. Both approaches are effective, but USB remains the best option for a faster and error-free process.
How to Access BIOS/UEFI Settings
You must change the boot order in the BIOS/UEFI to start from USB or DVD. Different brands use different keys like F2, DEL, or ESC to access the setup. Once inside, you adjust the boot priority and save the changes.
A Windows step-by-step tutorial always includes screenshots or diagrams showing this process. Without selecting the correct boot device, the installation media won’t launch. Following this step carefully ensures the installer starts immediately.
- How to Connect and Sync Your Android Phone with Windows 11
- How to Share Files Seamlessly Between Windows and Android
- Offline vs Cloud Applications: Which One Should You Use?
- Cortana vs Copilot: Which Microsoft Assistant Wins in 2025?
- Top 10 AI Productivity Tools You Must Try in 2025
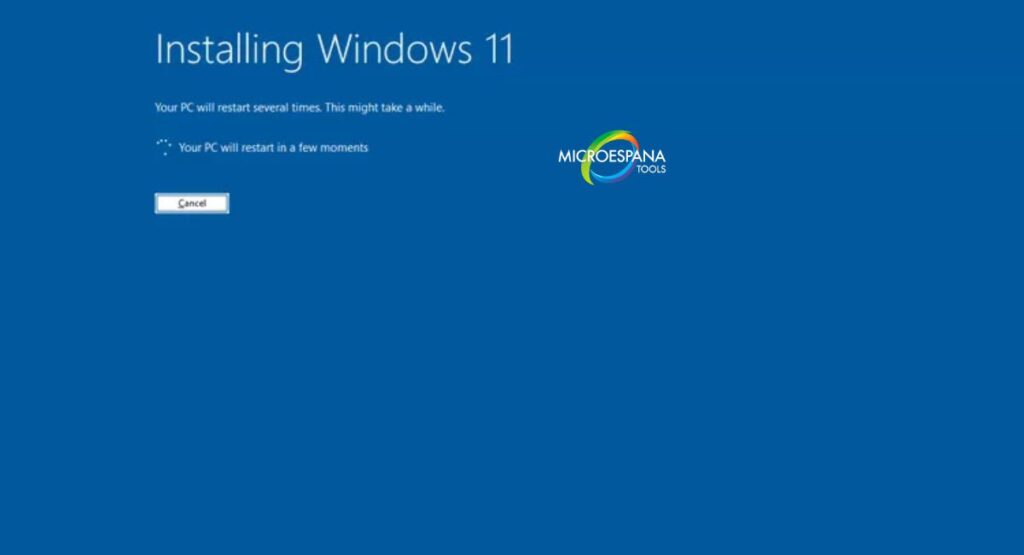
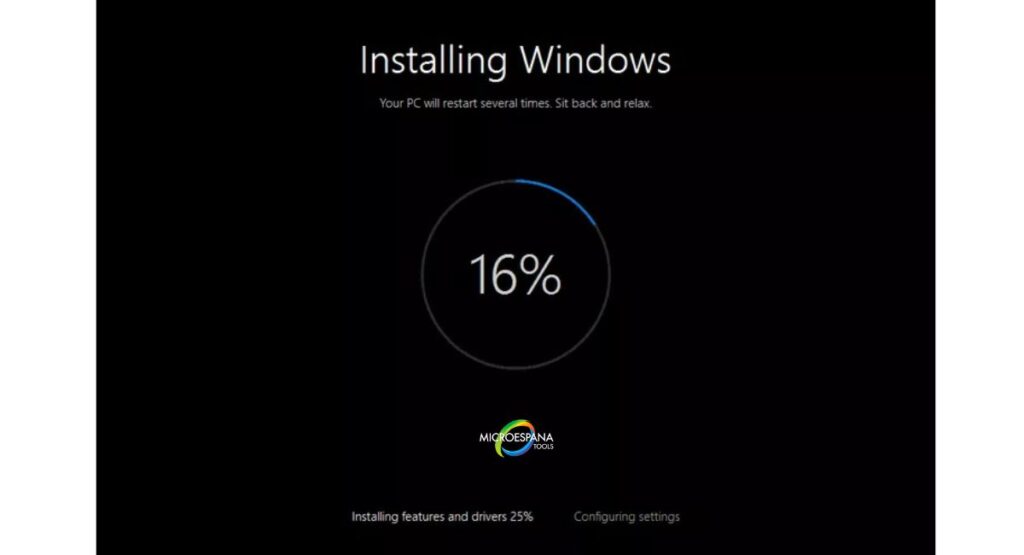
Step-by-Step Guide to Install Windows 11
When learning installing Windows 11 on a PC, you’ll notice stricter requirements such as TPM 2.0 and Secure Boot. Many users ask how to check if Windows 11 runs on my computer, and Microsoft provides a PC Health Check tool for this.
Once you boot from USB, follow the download Windows 11 ISO and install method. Choose your language, select the partition, and complete the setup wizard. This is the easiest way to upgrade Windows 10 to Windows 11 easily while keeping files safe or performing a fresh install for better stability.
Step-by-Step Guide to Install Windows 10
If you want a Windows 10 reinstall, the process is simple and familiar. Insert the bootable USB, follow the wizard, and enter your license key. Select “Custom Installation” if you want a fresh install vs upgrade install choice.
Many users also use the built-in Reset This PC feature. It reinstalls Windows 10 without needing external media. This option is great for quick repairs but lacks the deep cleaning effect of a full installation. A full tutorial for reinstalling Windows always compares these two methods.
Step-by-Step Guide to Install Windows 8
The Windows 8 clean installation process is slightly different. It introduced the Metro interface, and setup includes Microsoft account linking. You choose partitions, format drives, and proceed with the wizard until installation completes.
Many people still update from Windows 8.1 to Windows 10 because of better stability. However, for those keeping Windows 8, a step-by-step Windows installation tutorial ensures you don’t miss critical account or driver setup.
Step-by-Step Guide to Install Windows 7
A Windows 7 installation steps guide remains popular even though official support ended. Boot from USB or DVD, choose partitions, and let the installer copy files. This system is still used in some industries for legacy software.
When installing Windows 7 using custom method, ensure drivers are ready beforehand. Many modern devices no longer support Windows 7, so hardware compatibility is a key factor. A Windows Vista installation walkthrough is similar but less common today.
Installing Older Versions: Windows Vista & XP
Older systems such as Vista and XP require extra care. Many choose to install Windows XP from scratch on very old machines or for retro software. Since updates no longer exist, offline use is recommended to avoid risks.

The installing Windows XP step by step process is longer and requires manual drivers. Still, some enthusiasts enjoy it for testing. Following a Windows Vista installation walkthrough also provides a similar legacy experience.
Post-Installation Setup and Drivers Configuration
Once installed, you need drivers for graphics, sound, and networking. Without them, your system won’t run correctly. Many people also configure antivirus, browsers, and office tools immediately after a fresh install vs upgrade install choice.
Updating Windows through official updates is critical. This ensures patches for security issues and stability. A proper setup after installation is the final step in any easy Windows installation without experts approach.
Common Installation Errors and How to Fix Them
Errors happen, but solutions exist. Blue screen crashes, missing drivers, or boot loops are the most common. Often, repeating the Windows ISO file download and checking the USB integrity fixes issues.
This table shows common errors and quick fixes:
| Error | Cause | Fix |
| Boot loop | Wrong boot order | Reset BIOS settings |
| Missing driver | Corrupt ISO | New ISO download |
| Blue screen | Faulty RAM or disk | Hardware test |
When facing errors, knowing how to reset your PC and reinstall Windows saves time.
Final Tips for a Smooth Windows Installation
A successful installation is not only about the process but also about long-term stability. Always use official ISO files, update drivers, and check security patches. This ensures that installing Windows 11 on a PC or older versions remains safe.
Finally, remember that a fresh install vs upgrade install depends on your needs. If you want speed, clean installation is best. If you prefer convenience, upgrading works fine. Following these guidelines helps you enjoy an easy Windows installation without experts every time.